

Brand, products and footage
This page helps you give webfaCe Channels what it needs to make videos about your product. An Agent admin sets it all up at agent.<yourdomain>/channels.
If you would rather we do it, send the same things to support@webfacemedia.com and we set them up for you.
Brand, voice and schedule
Section titled “Brand, voice and schedule”Choose Brand, voice and schedule under your channel. It opens four cards.
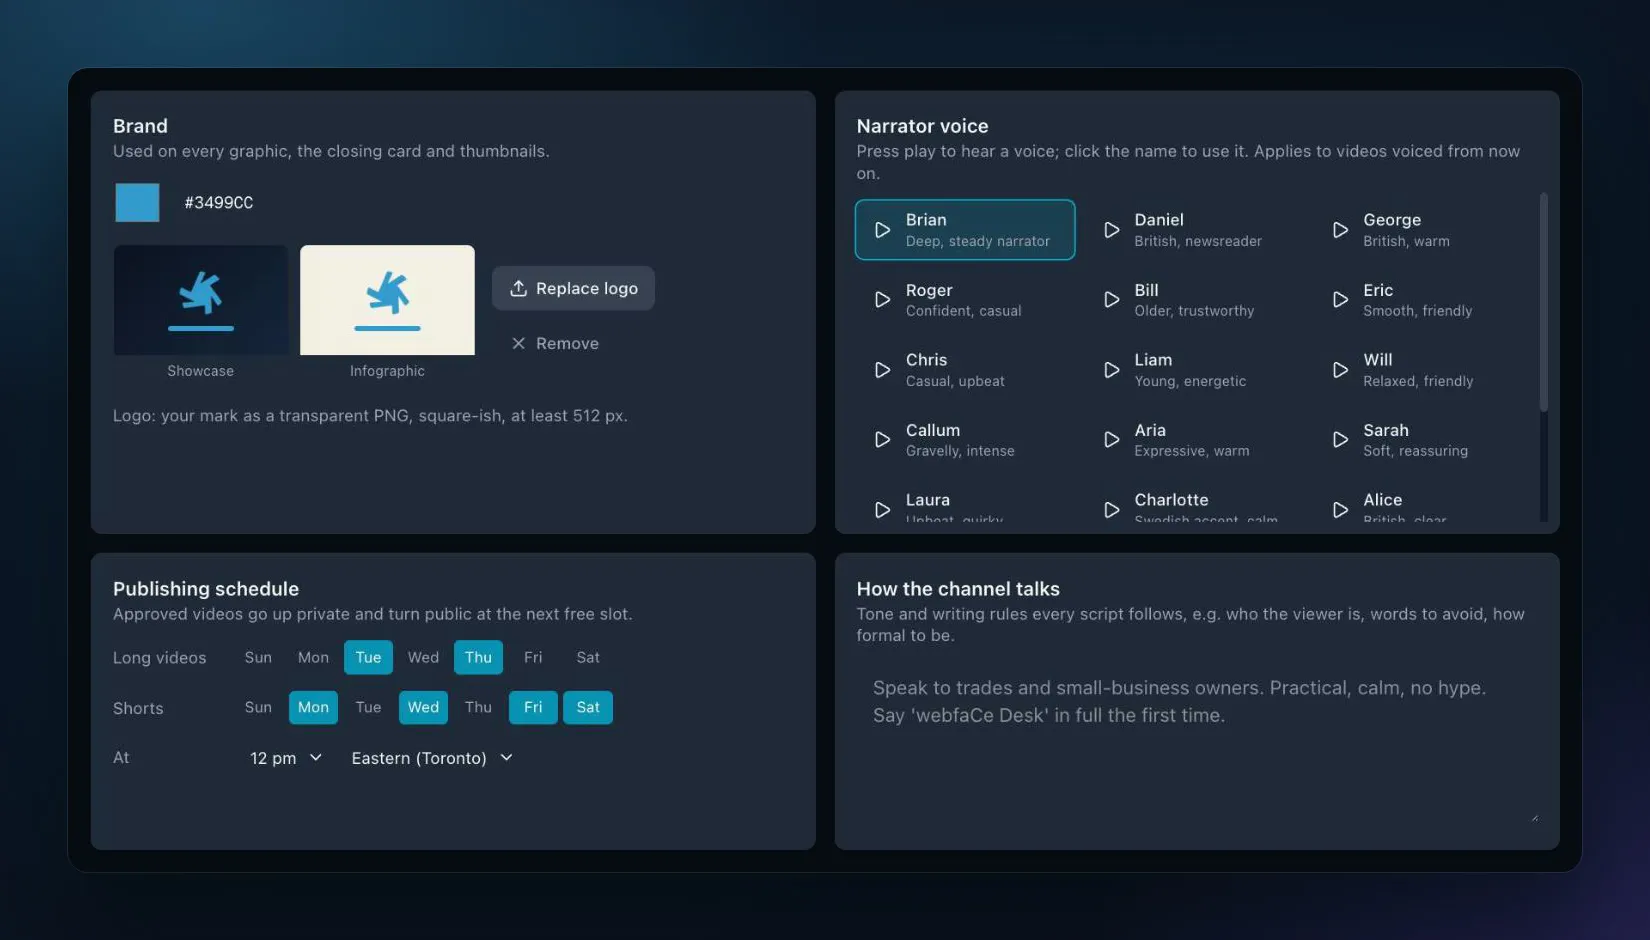
- Accent colour. Used on every graphic, the closing card and thumbnails.
- Logo. Your mark as a transparent PNG (or WebP), roughly square, at least 512 px and under 5 MB. Choose Upload logo, or Replace logo to change it. We use your logo as it is and never make one up.
Narrator voice
Section titled “Narrator voice”Press play beside a voice to hear a sample, then click its name to use it. The voice applies to videos voiced from then on. Videos already made do not change.
How the channel talks
Section titled “How the channel talks”Write the tone and writing rules every script follows: who the viewer is, words to use or avoid, how formal to be, how to name your product.
Publishing schedule
Section titled “Publishing schedule”Pick the days for Long videos and for Shorts, the hour, and your time zone. See Publishing and stats.
Your products
Section titled “Your products”Under What this channel sells, choose Add a product, or Brief, footage, style beside a product you already have. The product opens in three tabs.
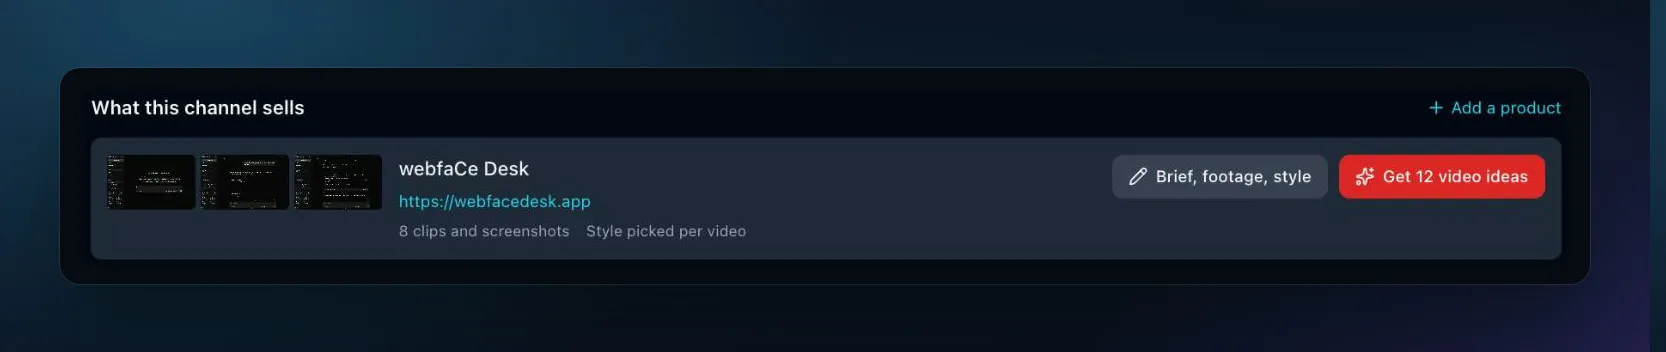
- Product name, exactly as it should appear on screen.
- Sales page. Every video links here and says the address aloud.
- Brief: what it is, who it is for, the price, how it works, and proof such as numbers or results.
- Line above the link in the description (optional).
Scripts only use facts written in the brief. If something is not in the brief, the videos do not say it.
Choose Add product (or Save brief). Then add footage.
Footage and screenshots
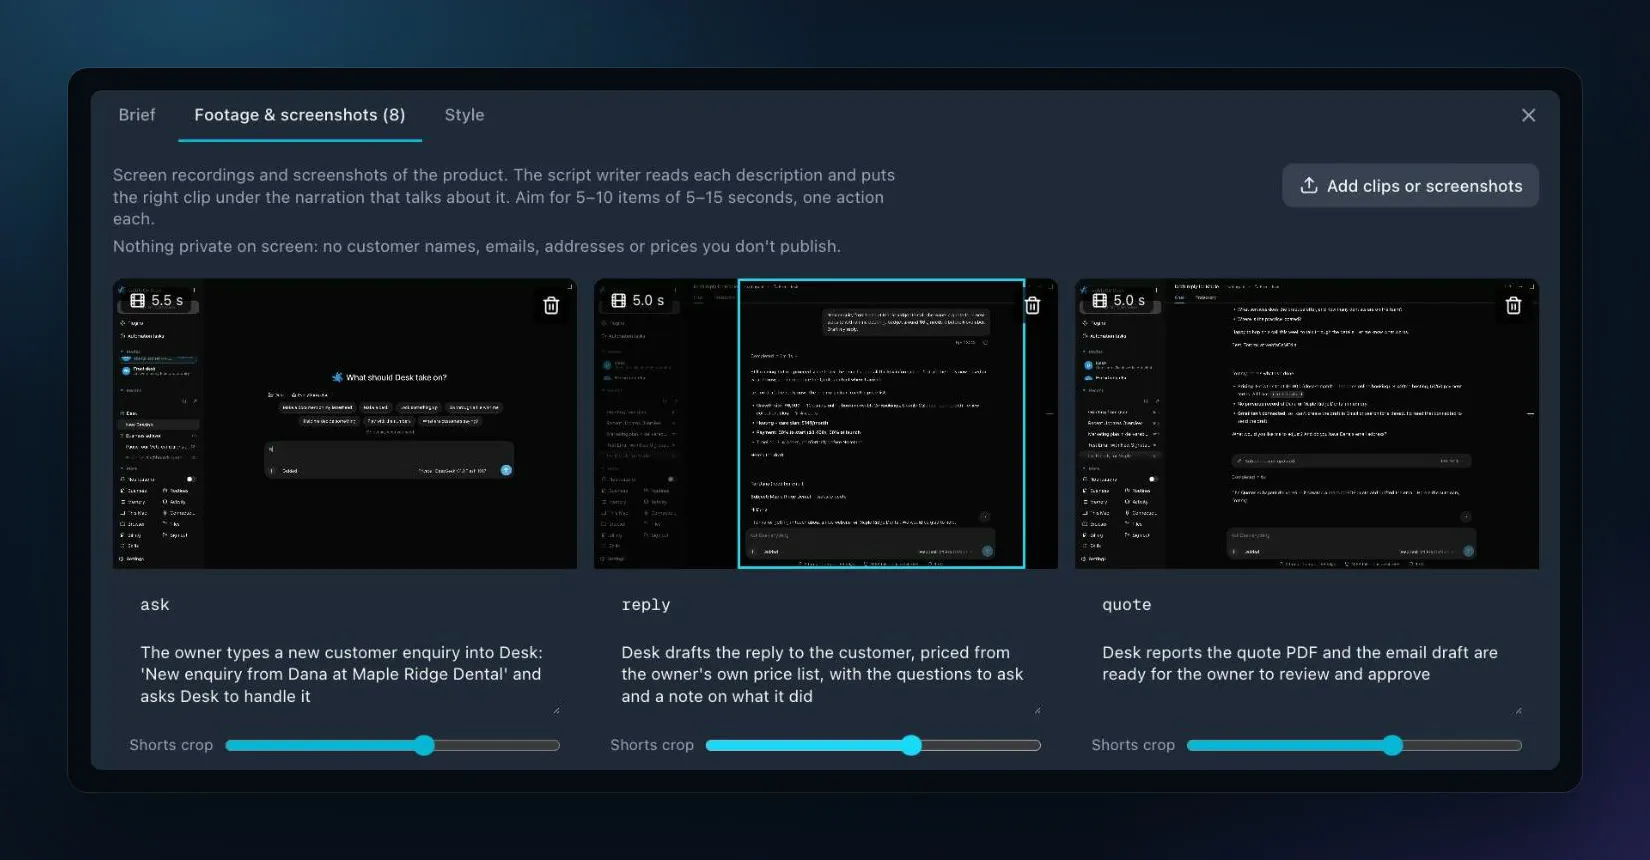
Section titled “Footage and screenshots”Add 5 to 10 screen recordings or screenshots of your product with Add clips or screenshots. Clips of 5 to 15 seconds work best; a clip over 30 seconds gets a warning. Files can be MP4, MOV or WebM video, or PNG, JPG or WebP images, up to 300 MB each.
For each one:
- write a one-line description of what it shows. Scripts pick footage by this line, so be specific: “An email arrives and the reply is drafted with the price from the price list”, not “Inbox”.
- check the Shorts crop. Shorts show only a window 62% of the width. Move the slider until the part that matters sits inside the outline.
Choose Save library when you are done. New scripts use the footage from then on.
Photos in the videos are limited to one or two per video, and never show screens, phones or paper.
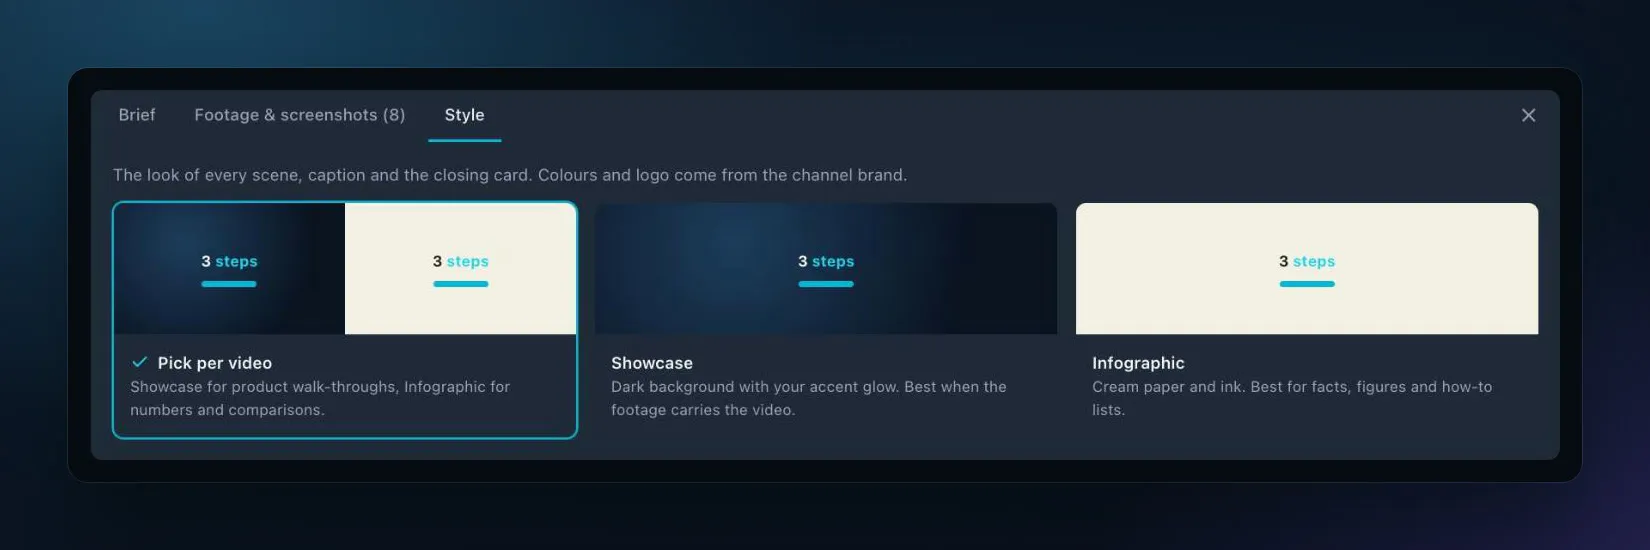
Pick the look of every scene and closing card:
| Style | Best for |
|---|---|
| Pick per video (default) | Showcase for product walk-throughs, Infographic for numbers and comparisons. |
| Showcase | Dark background with your accent glow. Best when the footage carries the video. |
| Infographic | Cream paper and ink. Best for facts, figures and how-to lists. |
Colours and logo come from your channel brand.
If you reload the page
Section titled “If you reload the page”Channels opens where you left it: the same panel, product tab and video. To show a teammate the same panel, send them the page address. Changes you had not saved come back with Unsaved changes from your last visit were restored. Choose Discard to go back to the last saved version, or save them.
Unsaved changes are held in this browser only. They do not appear on another computer or for a teammate until you save.
If you try to leave while footage is still uploading, or with footage changes you have not saved, your browser asks you first.